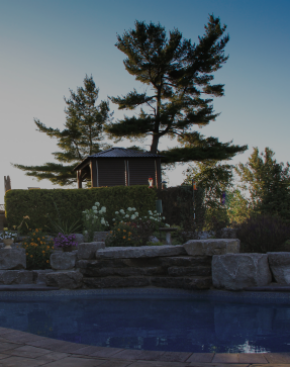
Closing a pool doesn’t have to be troublesome. In fact, it can really help the lifespan of your pool. You can inspect all of its contents to ensure nothing needs to be repaired and everything is intact. Closing a pool requires quite a few steps, but as long as it is done properly, you will have an easier time opening the pool next season.
Even if you are a new pool owner, you can still close your pool on your own. This guide will take you through a step-by-step process of what you should be doing during the process of closing your pool.
Clean Your Pool
First things first, give your pool a good and deep clean. You want to make sure it is in tip-top condition prior to closing it. Using pool cleaning appliances, scrub the walls and floor of the pool. Making sure the pool is clean now will help with keeping it clean in the future.
Adjust The Pool Water
Once your pool is clean, you should test the water. You want to ensure all the chemical levels are balanced to prevent any corrosion and scale build-up while the pool is closed. In addition, it will be a timesaver when it comes to opening your pool as you won’t have to clean as much.
Once the water is balanced, you can also add winterizing chemicals to ensure the water is not full of algae when you reopen it. This step is recommended to prevent any bacteria from building up.
Shock Your Pool
Before you put your pool safety cover on, you will want to chlorine shock your pool. This will get rid of any hidden algae or bacteria that are lurking in your pool. If you see any algae when you shock your pool for the first time, you might want to double the amount. This will help kill off the bacteria.
One other tip for shocking your pool is to do so at night. This way, there is no opportunity for the sun to soak up all the chlorine that will be in your pool.
Lower the Water Level
You should lower the water level prior to putting the pool cover on. This is to prevent any overflow or any possible damage due to freezing. But, lowering the water level is dependent also on the type of winter pool cover you have.
In some instances, the water will help support the pool cover and snowfall. It is important to check with the pool cover manufacturer for this step. Otherwise, your water level should be generally around tile level.
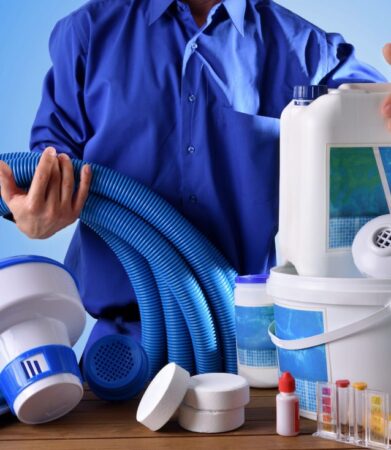
Clean the Filters, Lines & Remove Accessories
Using your pool supplies, clean out all the filters to get all the debris and bacteria out of them. You want to ensure that they aren’t clogged prior to closing your pool, and potentially damaging your filters.
Once everything is clean, go ahead and empty all the water from the lines, pump and filters. Removing all the water will protect your pool since there won’t be any fractures due to ice. Remember, this is a very delicate and patient process since draining the water requires excessive pressure. So take your time to prevent any damage.
One easy step of the process is simply removing all accessories and inflatables from the pool. Remove the ladder to prevent damage to the pool and any floaties or toys that might have been in the pool.
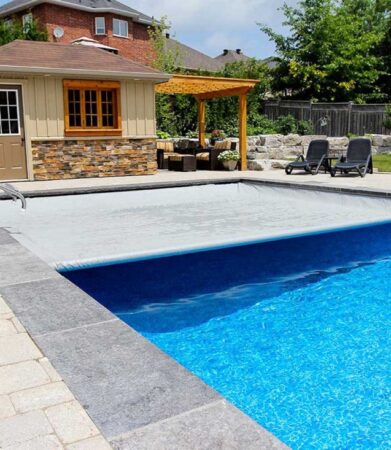
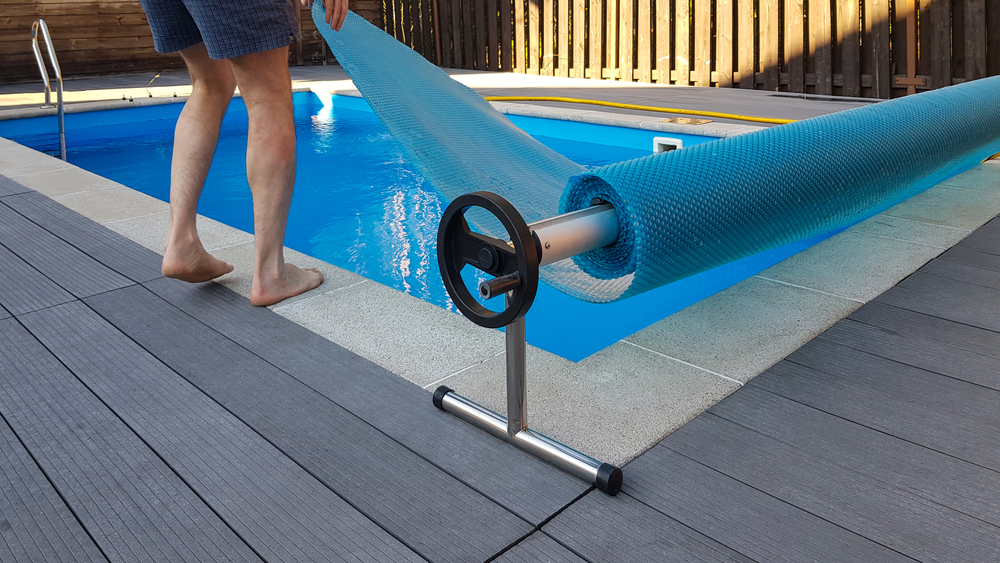
Install A Winter Cover
Lastly, you will want to put the pool cover on to close your pool. The pool cover can be installed manually or professionally. Once the pool cover is on, your pool is officially ready for the winter. Store all accessories and inflatables in a safe and secure spot to make sure they are ready for the next season.
If you liked this blog, check out “The Fast Guide Opening An Inground Pool.”